Getting Started
Follow these steps to set up your account and start managing your accounting practice more efficiently.
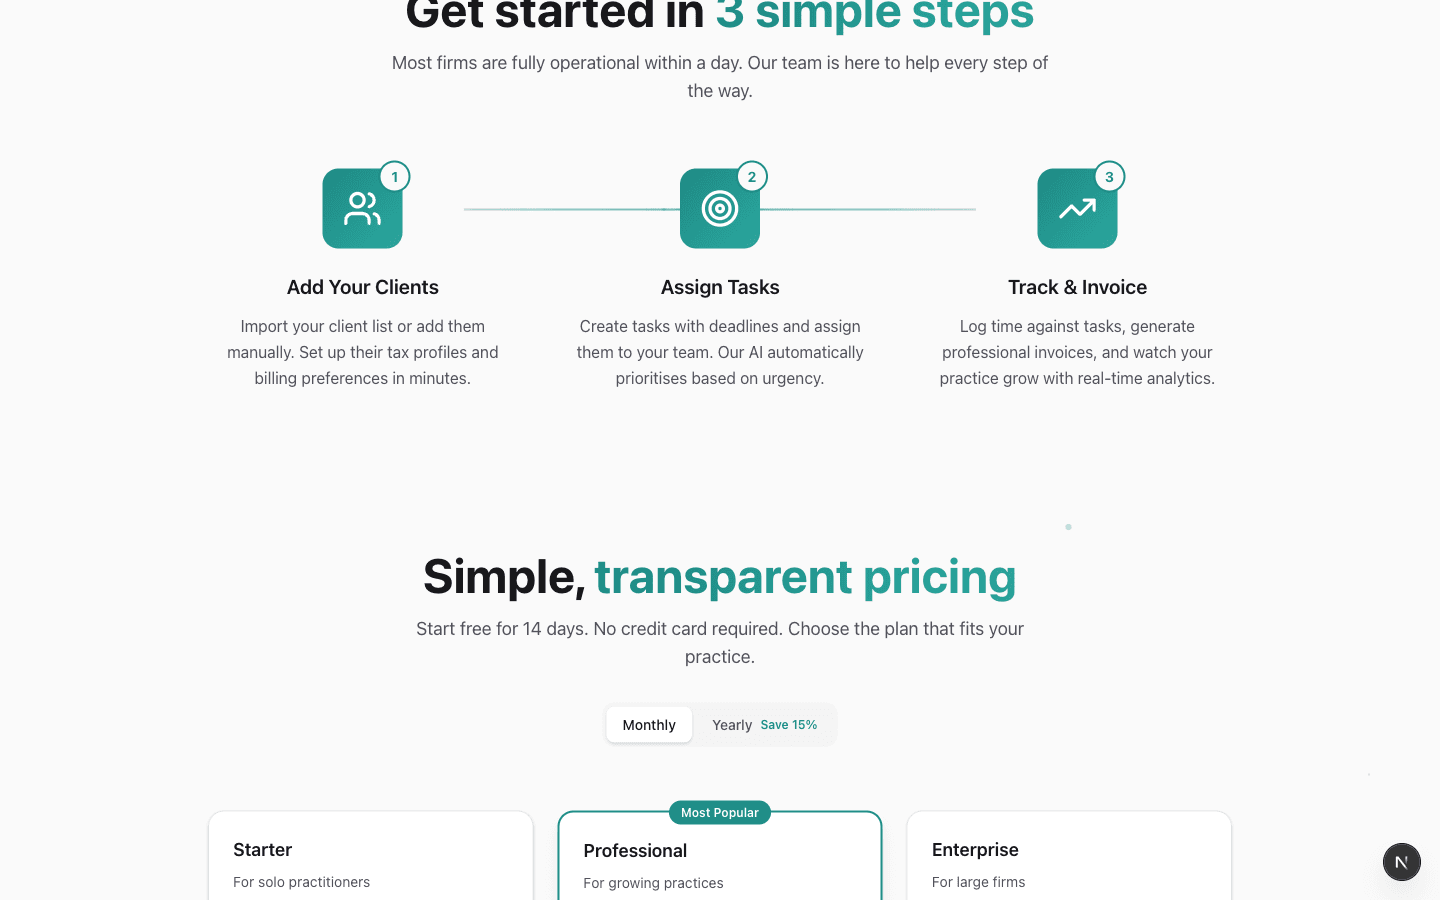
Step-by-step setup guide
Create Your Account
Sign up for a free 14-day trial at weekdayapp.co.za. No credit card required. Enter your email, create a password, and verify your email address.
- • Use your work email for easier team collaboration
- • Choose a strong password with at least 8 characters
Set Up Your Company Profile
After signing in, go to Settings > Company to configure your practice details. Add your company name, VAT number, physical address, and banking details.
- • Upload your company logo for branded invoices
- • Set your default VAT rate (usually 15%)
Add Your Team Members
Navigate to Settings > Users and invite your team. Assign roles (Admin, Manager, Partner, Senior, Accountant, Staff) based on their responsibilities.
- • Admins have full access to all features
- • Staff members can view and edit tasks assigned to them
Import or Add Clients
Go to Clients and click "Add Client" to create your first client. Enter their company details, contact information, and tax details.
- • Include VAT numbers for tax compliance
- • You can also bulk import via CSV
Create Your First Task
Navigate to Tasks, click "New Task", and create a task with a title, description, due date, and priority. Assign it to a team member.
- • Use descriptive titles like "VAT Return Q4 2025 - ABC Trading"
- • High priority tasks appear at the top
Start Tracking Time
Open a task and click "Start Timer" to track time automatically, or go to Time Entries to log time manually.
- • Use the timer for accurate time tracking
- • Add descriptions to time entries for invoice details
Generate Your First Invoice
Go to Invoices, click "Create Invoice", select a client, and add line items. You can import time entries or add manual items.
- • Import time entries to auto-populate line items
- • Set payment terms (14, 30, or 60 days)